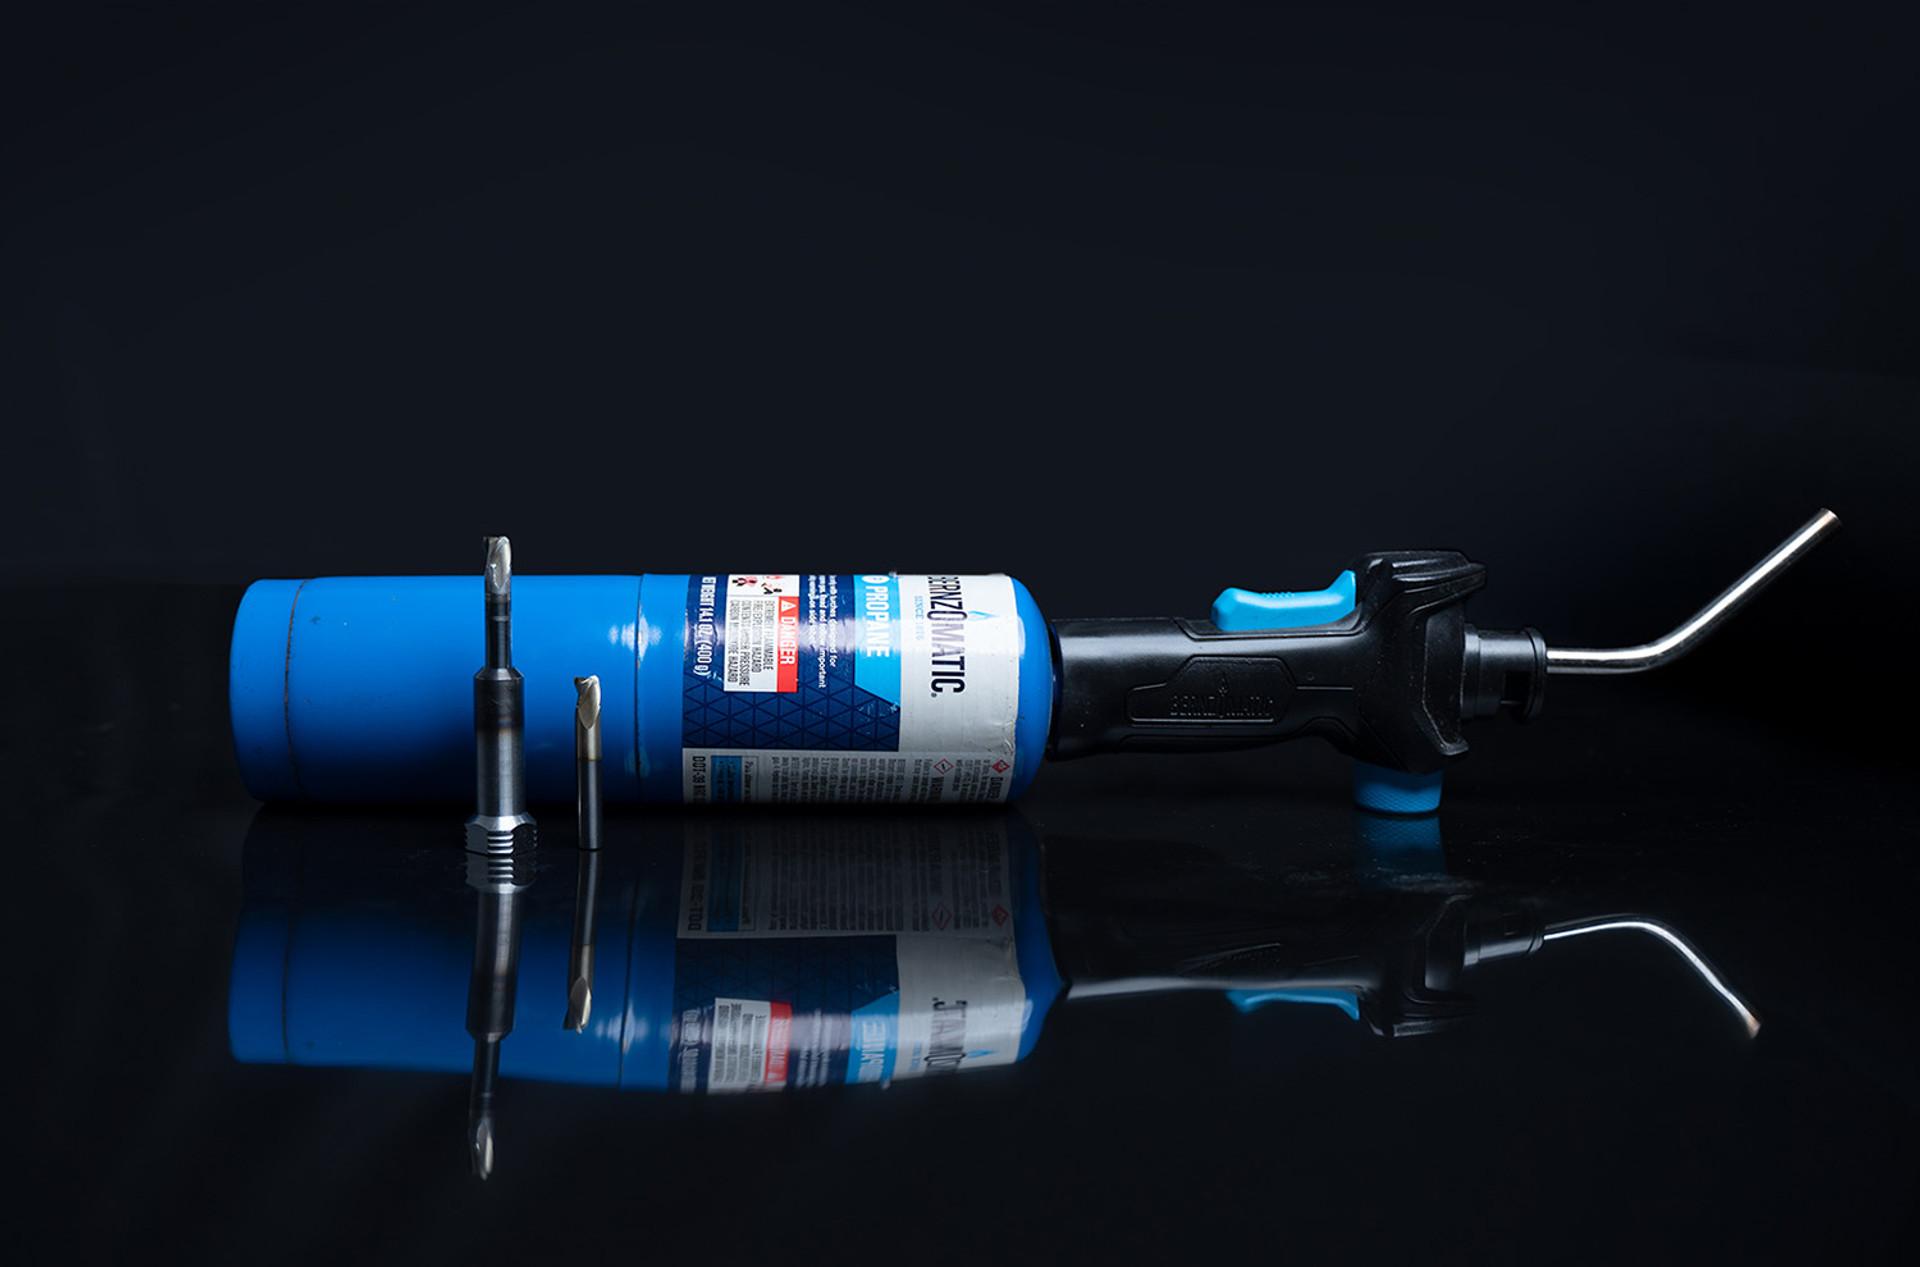
Tutorial: How to replace your end mill cutter
Did you know you can replace the end mill bit of your Speedmill™? Yeah, don’t be so quick to throw it away after milling out a couple of 80 percent lower receivers! If you take it nice and slow, we’ve heard our customers being able to mill out as many as ten AR 80 lowers with just one of our Speed Mills. However, if you rush that’s where mistakes can happen, including chipping or significantly dulling the end mill.
If you're more of a visual learned, check out our YouTube Tutorial here.
Some quick terminology check:
Gen 3 Speedmillis the trademarked name of our end mill. The portion that we are replacing is the cutter, or the top half of the Speedmill. The lower half is essentially a heat shrink tool holder which we will reference below.
Tools you’ll need
Prepare the following tools and items prior to replacing the end mill (the cutter) on your Gen 3 Speedmill™:
- Vise
- Damp rag
- Propane Torch or MAP Gas
- Pliers
5 Simple Steps to replace an old end mill
Following these five quick and easy steps to replace the cutter on your Speedmill to make it good as new:
Step 1: Secure old Speedmill in vise
First, what you’re going to want to do is secure the Speedmill in a vise so that you have a solid workspace to use. Go ahead and tighten that bad boy down.
Step 2: Heat up endmill with torch
We’re going to be playing with fire so definitely keep that in mind. Before you turn your torch on, have a damp or wet towel nearby as it will come in handy. You can use either a standard propane torch or even a torch that’s using MAP gas. If using MAP gas, this process will be much quicker but be careful as you’d be dealing with higher temperature.
Turn your torch on, and apply heat on all sides of the Speedmill’s lower half (the tool holder). You’ll see a layer of soot form around the Speedmill which is normal. If it bothers you, take a brown Scotch-Brite sponge pad and clean it off later when you’re done with this tutorial.
Step 3: Remove old end mill bit
As you heat up the Speedmill, periodically check with a pair of pliers whether the cutter is loose. Eventually the tool holder will open up so that you can easily remove the endmill from it with ease. Place the old (and very hot) cutter onto your damp towel so that you don’t burn yourself or anything around you.
Step 4: Install replacement end mill
Once you’ve removed the old end mill, drop in the new replacement endmill, gently tap it so that you know it’s fully seated in the holder.
Step 5: Cool off
As it cools down, the tool holder shrinks down, tightening around the new cutter you’ve placed in it. That’s it! You’re done. How easy was that? Step away for about an hour at your Speedmill will be ready to rock and roll.
Why buy an end mill replacement from 80 Percent Arms?
There are a couple of good reasons to buy an end mill replacement from us, here at 80 Percent Arms. While our end mill, or the very concept one is not novel nor is it proprietary to our products (as our four variants fit a wide variety of powered router tools) you can save a good bit of money by getting the replacement end mill instead of buying a new Speedmill every time.
It’s also less wasteful to replace the cutter rather than to throw a whole Speedmill away every time it dulls or breaks. If you wait for one of our tooling sales you can also opt for our premium replacement end mill which has our Speedcoat™ applied to it, providing a higher level of lubricity which means longer overall tool life when milling through aluminum. So what are you waiting for? Get building today!


 Back to List