How to Paint Your Pistol - Part 2
Welcome to the second part of this blog series. In Part 1, we Rit Dyed two GST-9 MOD1 frames, spray painted and baked two more. In this article we’ll be reviewing our range notes after having built all these frames out.
Disclaimer: This article is for educational and entertainment purposes only. While we had fun trying this out for ourselves we would not recommend replicating the modifications discussed here. Any attempts to modify our products should be done at your own risk as 80 Percent Arms would not be liable for any resulting damages to products that render them unusable, or injuries. Please use our products as intended and seek professional aftermarket gunsmith services for advice on any alterations.
Part 1 Recap
If you need a refresher from what we initially learned from this painting project here are the key notes:
- We wouldn’t recommend using Aluma-Hyde.
- We love the Cerakote from Wheeler.
- Rit Dyeing only works on our white and FDE MOD1 frames.
- How much Rit Dye you use to mix with water determines the color formula you end up with.
- Do not bake your GST-9 frames. Only bake metal parts.
Range Notes
We built out and completed the two FDE painted frames and the red Rit Dyed frame to the range to see how they’d fare when sending rounds down range. First off, getting the pins into these suckers was fairly difficult. If we try this again we might copy P80 Ralph and drill out the holes before applying paint or Rit Dye.
Wheeler FDE GST-9
Photo Source: 80 Percent Arms
Of the two FDE frames, this was the better one. It’s not that it was the fault of the paint, it’s just that we stuck this frame in an oven for 30 mins at 200F. Regardless of the temperature, we’d say just to skip baking altogether.
The mag well had clearly warped because it was difficult to get a full magazine to seat into the gun. But what transpired was that even though our holes should’ve been drilled accurately and rails were installed correctly, the slide just didn’t want to cycle.
In fact, this GST-9 had become a single shot pistol. It was so tight on that the slide wouldn’t even eject the spent casing after each shot. That had to be done manually. Again, not the paint’s fault. Spray painting your pistol frame and letting it air dry is honestly the safest way to go. Just look at how Print Shoot Repeat painted his GST-9.
Aluma Hyde FDE GST-9
As we noted in Part 1 of this blog series, you can easily tell if something has an Aluma Hyde coating because of its thick coat. It kind of looks like when someone has a little (or a lot) too much makeup on. Well, that’s certainly not different here.
The Aluma Hyde GST-9 likely would’ve been fine if it was not baked in an oven by us, but this one had warped so badly that it simply wouldn’t accept a loaded magazine. So this build couldn’t be shot or tested at all. Fail.
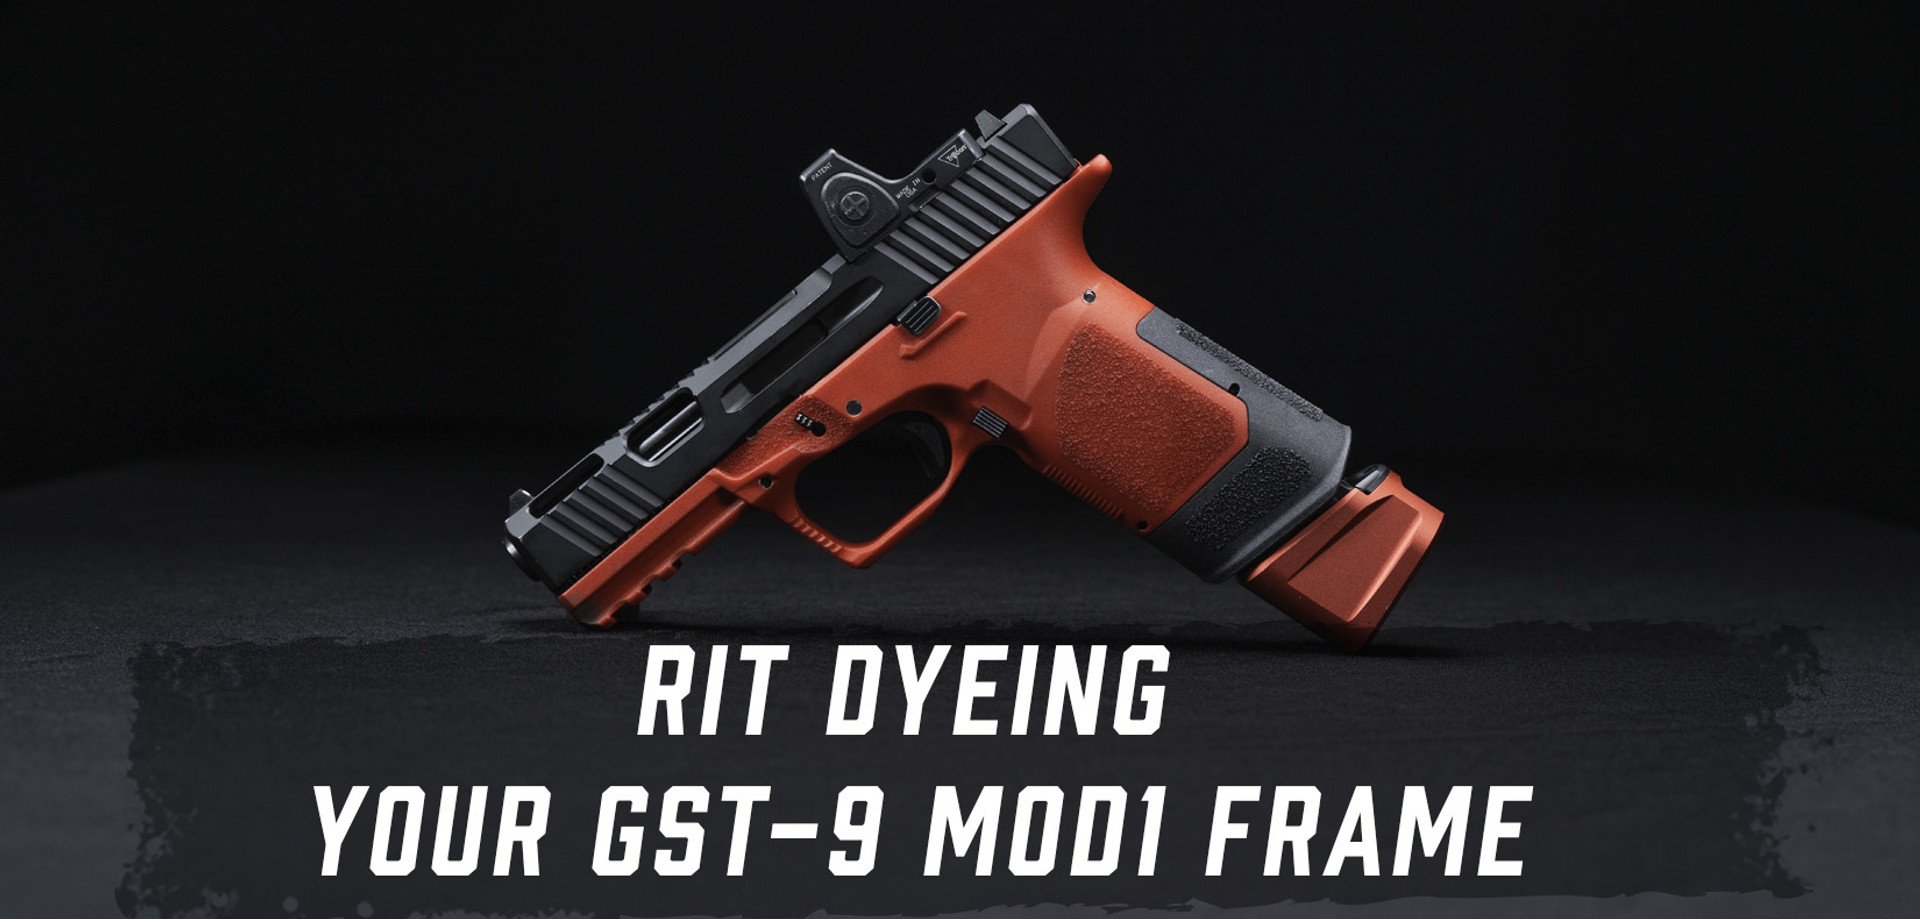
Red Rit Dye GST-9
Photo Source: 80 Percent Arms
If you can’t tell, this was our favorite. Although it was initially concerning due to the difficulty of installing the pins… While at the range, it actually shot flawlessly. No light strikes, no failures or malfunctions. We were extremely pleased. This actually may become our new company competition build. More on this experiment to come...
Build your GST-9 today!
Rattle canning will be your safest bet, period. If you're ready to build your custom, one-of-a-kind GST-9 grab yours today and start building! If you want every color in the tactical rainbow, you certainly can. We offer them in a variety of color ways. Build them out with the Infinity Jig to reduce plastic waste and to efficiently build more guns to fill up your safe. We also have GST-9 build kits that conveniently provide all the parts you need for a complete building experience.


 Back to List