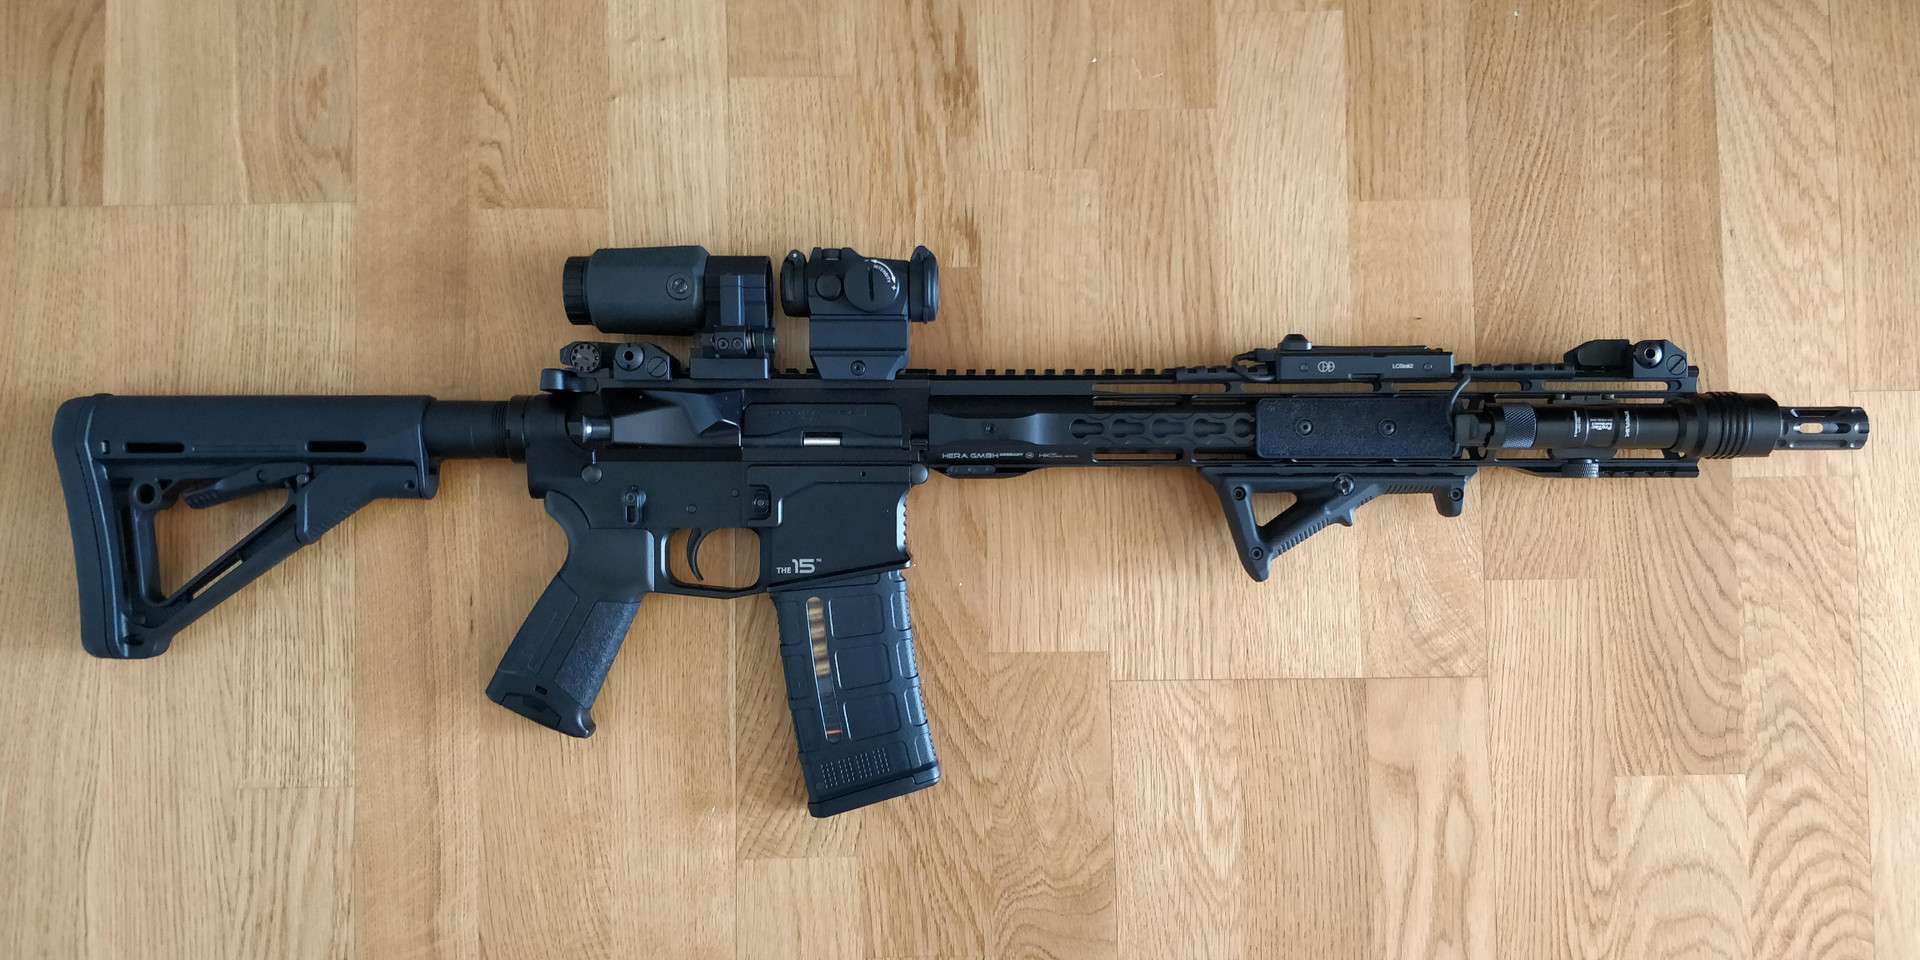
How to Install AR-15 Gas System & Barrel
This guide discusses the steps and torque specifications needed for the installation of the AR-15 barrel. You will also learn the steps involved in installing the gas block tube so that the barreled upper gets to work immediately. The installation process will take between 30 and 60 minutes. You must have the right tools for the process, so let’s look at the requirements.

What Are the Required Tools?
- Vise: You will need a vise to secure the upper receiver as you torque the barrel.
- Torque wrench: The torque wrench is needed to attain the recommended torque specifications for your barrel nut.
- Ratchet/breaker bar: You are required to loosen and then re-tighten the barrel nut up to three times.
- 5/32-inch and 3/32-inch punches: If you are a shooter, then you already know that most gas blocks use 5/32-inch and 3/32-inch roll pins to secure the block to your barrel and your gas tube to the block.
- Grease: Receiver threads and barrel nuts can easily be damaged. To prevent that, you will need to use grease when loosening and tightening the barrel nuts. It is okay to use any type of firearm grease. However, refrain from using grease containing metallic additives such as copper or graphite because these substances could damage the receiver and damage the threads with time.
The Installation
Step 1: Sliding the barrel nut onto the barrel
Parts: Barrel, upper receiver, barrel nut, and the handguard attachment.
Tools: Allen wrench or Allen key. This one will be used for Gas Block Set Screws.
To begin, you want to collect the barrel nut, upper receiver, and the barrel itself. Slide your barrel nut onto the barrel, and place it up against the receiver extension. It is important to ensure that the grooves of the barrel nut don’t face the muzzle. The grooves play an important role in letting the barrel wrench capture and fasten the nut through the torque wrench.
Note that in some cases, you might need to slide the handguard attachment plate, or rather the handguard nut, first onto your barrel so that it is resting between the upper receiver and the barrel nut. Your handguard may come with a set of instructions that you need to refer to when doing the installation.
Step 2: Torque barrel nut
Parts: The barrel nut
Tools: Receiver block, vise, torque wrench, barrel nut wrench, grease
Before doing anything, you must apply grease to the barrel nuts of the receiver, as well as the interior sections of the barrel extension. The extension could be a tight fit, but that should not worry you.
The next step involves hand-tightening the barrel nut to the threads of the receiver. To ensure that everything is aligned, you need to check the interiors of the receiver. Everything is okay if the receiver’s feed ramps and barrel extensions are properly aligned.
Make sure not to tighten the nut. Before tightening the nut, be sure to go through the details outlined below. Unless you follow this guide closely, you are very likely to damage the nut wrench or torque wrench, and you want to achieve the best installation.

How Should You Tighten the Nut?
To tighten the nut, you must ascertain that the nut wrench is perfectly parallel with the torque wrench handle. The torque will not be perfectly applied if it is not in the correct position. Also, you won't be able to achieve the correct feet-to-pounds ratio while trying to tighten the nut. If they are not parallel, the nut wrench might also wrap.
You also need to check the barrel’s manual to see the recommended ratio. In case there is no specification, use the standard 40 to 50 ft-lbs.
These considerations are important when dealing with open-ended wrenches to tighten the nut, and you should make sure that the wrench's teeth are secured to the top of the nut and the side grooves. You must ensure to only tighten from the left side of your receiver and in a downward motion.
By doing this, the wrench’s teeth will be pulled into the grooves of the nut. You should not do the tightening from the right side because the wrench might get bent outward. When that happens, the teeth will get pulled out of grooves, and the wrench will eventually become useless.
How Do You Season the Receiver’s Threads?
Note that your barrel nut is made of steel. Aluminum is used to make the AR-15’s threads, which is why it is softer and lighter. Tightening with very high torque requires that you season the softer material threads by loosening and re-tightening the nut repeatedly. By doing this motion, the barrel will be correctly seated and will not get loosened when subjected to pressure or heat after being torqued a final time.
You are strongly discouraged from using the torque wrench to loosen the barrel nut because you will end up compromising the wrench’s calibration. Instead, you want to use a standard breaker bar or a standard ratchet to loosen the nut. Make sure the ratchet or breaker bar handle and the nut wrench are perfectly parallel when loosening.
Setting the Torque Wrench
Your torque wrench must be set to the recommended level. Here is how you can complete the process:
- Use the net wrench to torque your barrel nut.
- Use either a breaker bar or drive ratchet to loosen the nut.
- Begin re-tightening by hand, and make sure to back the nut from the threads.
- Torque the barrel the recommended ratio.
The same steps must be repeated until the barrel nut has been fully torqued. You might have to repeat the process at least three times.
The Installation Continued
Step 3: Install the gas tube, gas block, and set screws
Parts: Gas tube, gas block, set screws
Tools: Allen wrench or Allen key
Collect the gas block, glass tube, and set screws, and have them ready for installation. Begin by inserting the end of your gas tube into the gas block. You will notice that it is a tight fit, which is perfectly fine, but you might need to use a lubricant to make it fit.
You will then need to press the tube to make it go into the block. Make sure that the hole within the tube perfectly aligns with the roll pin found in the hole block. Once you have done that, you need to slide your gas block onto the barrel, and then let the other end of your tube to feed via the gas tube hole.
Take the set screws from your gas block hardware, and then thread them hand-tight right into the gas block with the Allen wrench or Allen key. As you do this, you need to check, check the roll pin hole and ascertain that the barrel pin is aligned with the cut out.
Step 4: Confirm the tube alignment and install the gas block roll pin
Parts: Gas block roll pin
Tools: Gunsmith hammer, 5/32-inch punch, BCG or gas tube alignment
Take the gas block roll pin and the 5/32-inch punch and the Gunsmith hammer after placing the gas block roll pin. Before you commence tapping in to fit into the gas block, check to confirm the alignment of the upper receiver and the gas tube.
To accomplish this, consider using the gas tube alignment tool that comes with the wheeler armorer’s kit. Better still, you could use the charging handle and BCG and install the pair right into the receiver. You can then check to confirm the alignment through the gas key and the handle on the carrier. After verifying the alignment of the receiver and the gas, you can begin tapping the gas block roll pin into position.
Step 5: Insert the gas tube roll pin
Parts: Gas tube roll pin
Tools: Gunsmith hammer, punch, pliers (optional)
If you installed your own LPK in the lower receiver, then this step is mandatory. The gas tube roll pin is small, and dealing with it might be a pain. However, if you're installing it on a rounded surface, it will allow you to reseat the receiver horizontally in the vise.
Take the 3/32-inch punch, roll pin, and gunsmith hammer, and put the gas tube roll pin into position. Make sure that you take your time because it is going to fight you. After you are done installing, the pin should be flush on either side of the gas block.

Closing Thoughts
After all of your hard work, your AR-15 barrel is now installed. These are five critical steps that must be done carefully and accurately. Make sure that you have the right materials, otherwise you won’t be able to complete the installation. Also, make sure to use the right grease that will not affect the functionality of your AR-15.


 Back to List